011 — Fog, Outlines, and a Thousand Lights: Steps 17 to 21
A fixed render resolution, distance and height fog, a stencil outline that costs nothing when it's off, and Clustered Forward+ with point, spot, rectangle and disc lights — with CPU and compute binning measured on the Steam Deck
2026-11-17 → 2026-11-21
Five days, four steps. The renderer now has a resolution of its own, fog, an outline for targeting, and above all local lights: torches, lanterns, spots, lit windows — as many as a night scene needs, sorted into a 3D grid so each pixel only looks at the few that reach it.
Step 17: the game's resolution, not the window's
Until now ARAL rendered at the size of the window. Maximize the window on a laptop and the game was suddenly
rendering 3456×2172 pixels. Now each window has a render resolution of its own (setRenderResolution(w, h, EScaleMode)): the scene and the tonemap work at that size into an intermediate LDR image, which is then scaled to the
screen once — black bars by default, stretched or integer-scaled as options. The debug overlay and the UI are drawn
after that, at the screen's resolution, so text stays sharp. Mouse coordinates are converted back to game pixels for
aiming and clicking. Borderless fullscreen came with it, never a video mode change.
That LDR image is also what FXAA and FSR1 will work on later.
On the way, the window bug from the previous post got fixed: under a fractional scale (KDE on the Deck's desktop, 135 %), Wayland windows are now created in physical pixels, like XCB and Win32. A 1280×800 window is a 1280×800 swapchain again, not 1728×1080. The foliage numbers of devlog 010 were taken before the fix and stay pessimistic.
Step 19: fog
Fog by distance and by height, on the objects and on the sky. The height part uses the exact integral along
the ray from startDistance, so fog pooling in a valley thins out correctly as the camera looks up. Its color can
follow the horizon of the sky at the current time of day, and a halo brightens it towards the sun (the first
active light). It's off unless the game turns it on, and it can be switched per view.
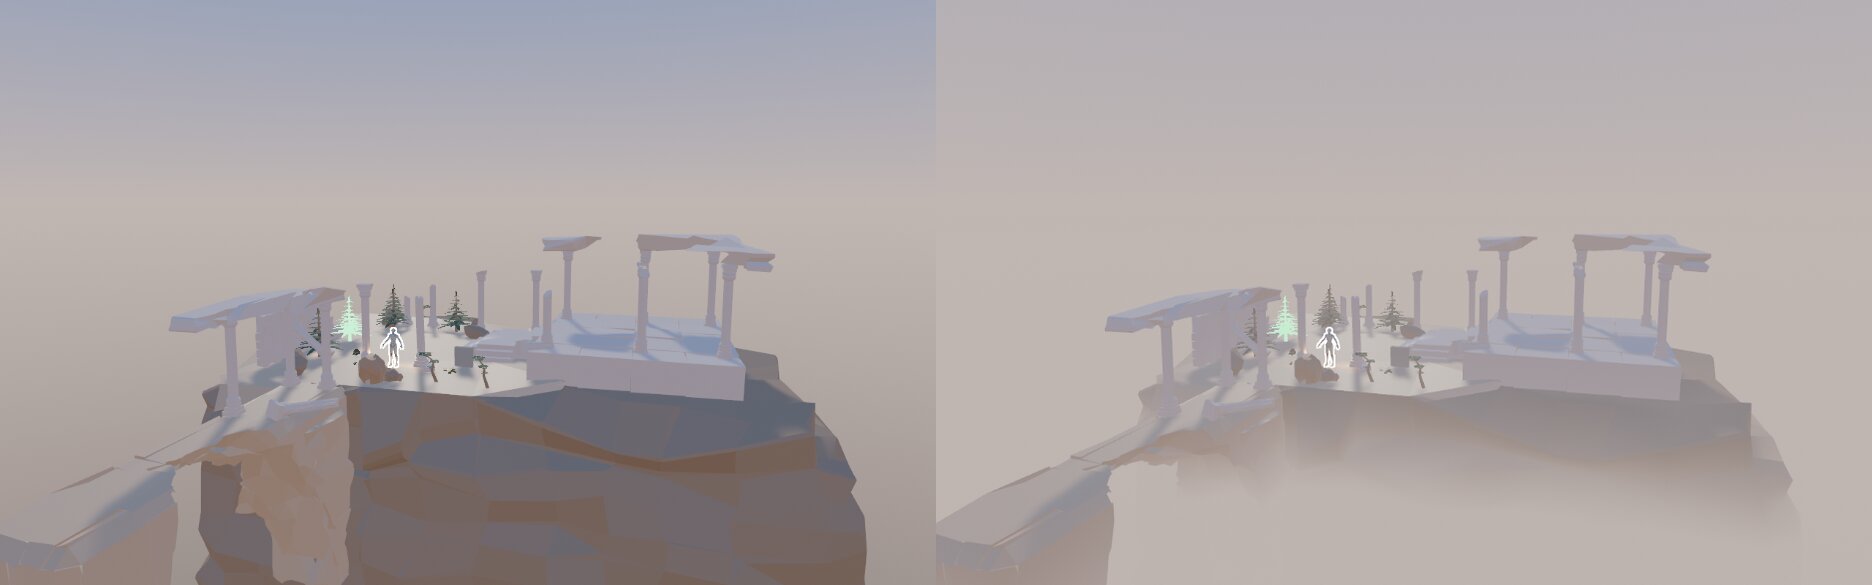
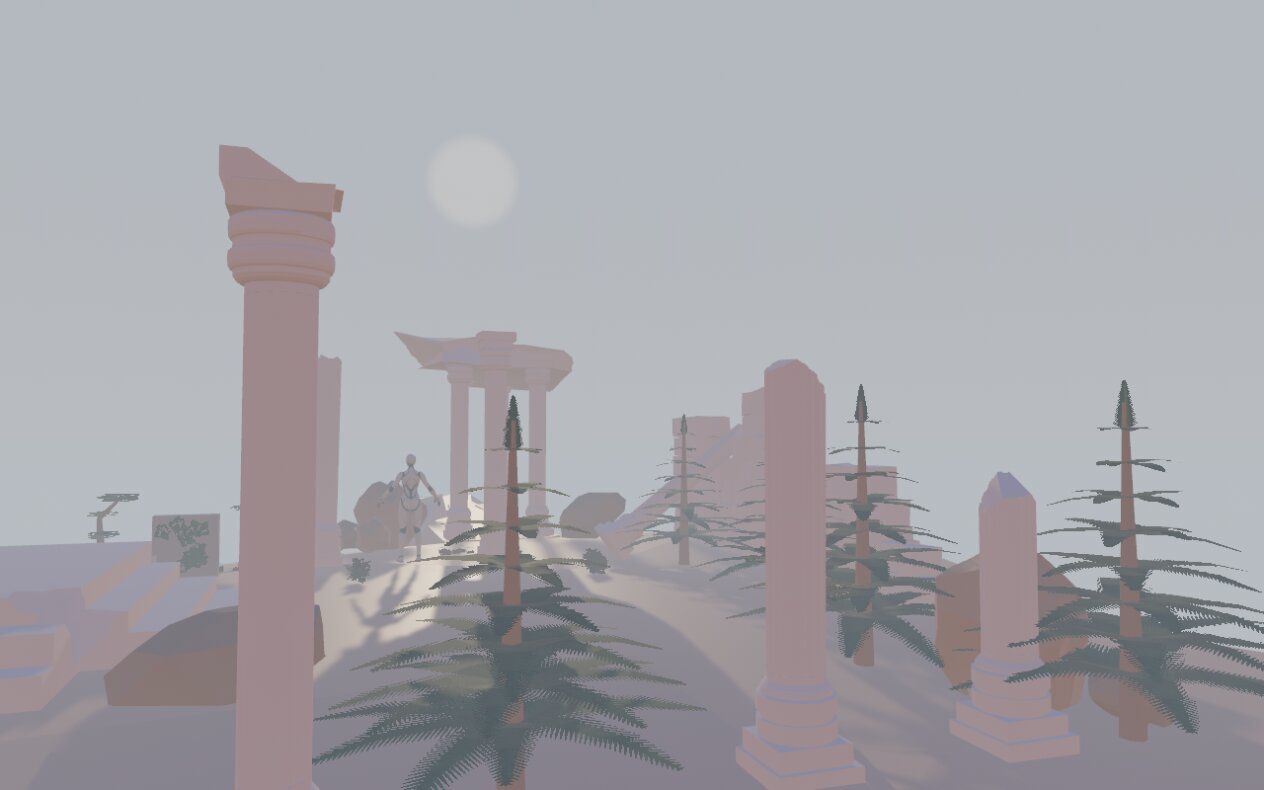
This step also carried the level 2 proof set in devlog 003: the reference scene, from Blender's camera, with fog, against the same view without. Validated.
The fog has an automatic test: --test-fog renders two views of one camera (fog / no fog) and checks four cases —
distance, height on a 45° ray, the opacity cap, fog off — against a closed form computed by the tester. Largest
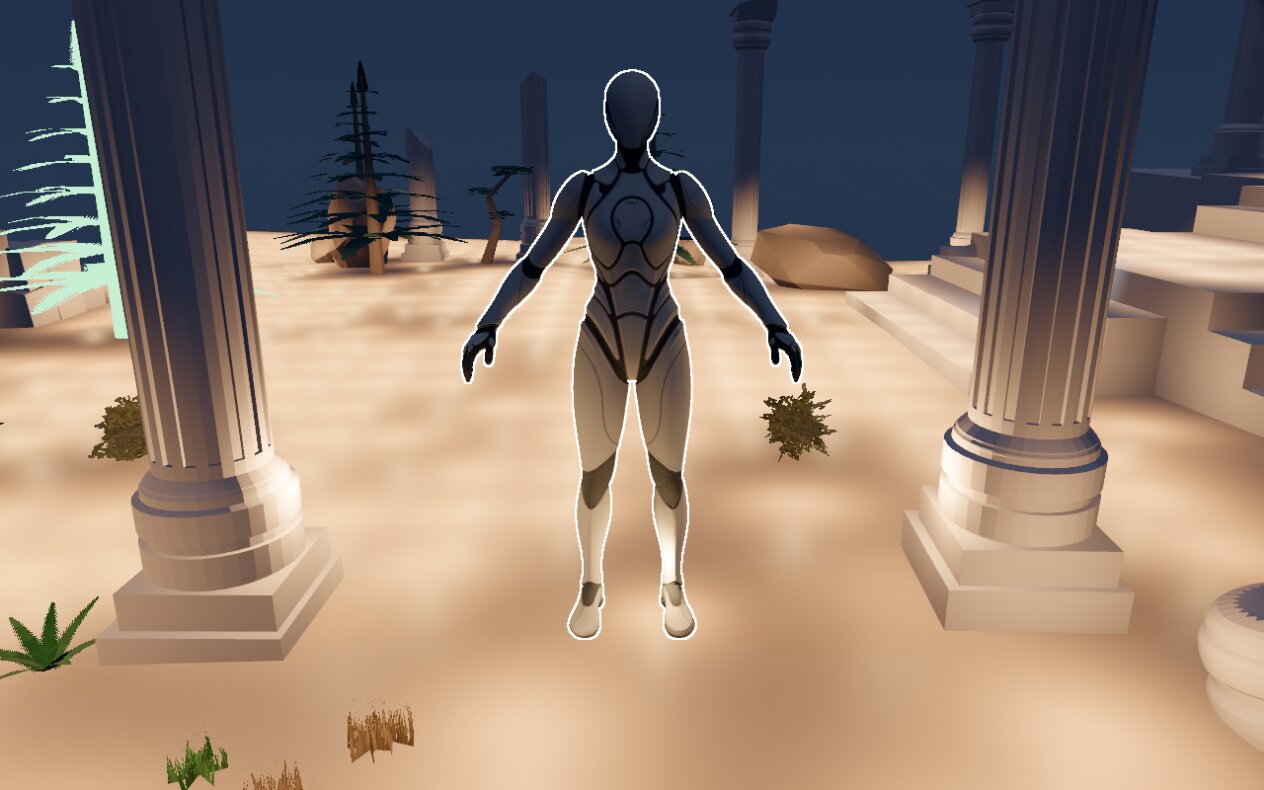
error: 0.82 of a level out of 255.
Cost on the Deck
Profile build, GPU forced high, 1280×800, MSAA ×4, time 0.40, medians:
| GPU total | |
|---|---|
| no fog | 2.90 ms |
| fog | 3.02 ms (+0.12) |
| fog + halo | 3.06 ms (+0.16) |
The scene pass takes +68 µs, the sky pass +48 µs (123 → 171 µs: fog is +40 % on the sky). That's 2.5× the estimate of the tutorial (0.02–0.05 ms) — which is why things get measured.
And fog off against the build from before step 19: +17 µs, in both of two alternated series, so not noise. That's the fog code sitting in the shader even when it's never executed — probably register pressure, not verified. If a profile ever asks for it, a shader variant without fog would remove it.
Step 20: outline by stencil
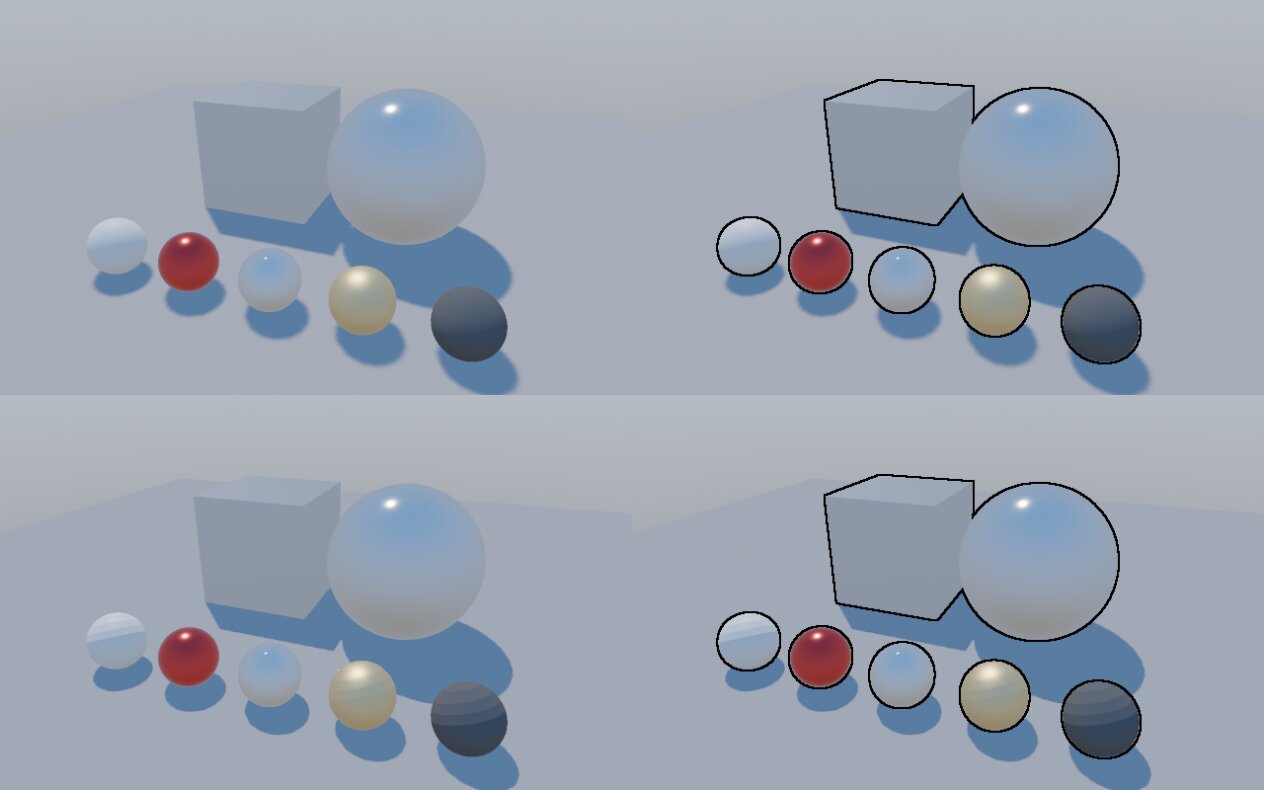
An object gets an outline style (1 to 4) with setObjectOutline. The scene pass writes that style into the stencil;
the tonemap pass finds the edges of the stencil shape and draws the outline there. The outline can be switched off
per view — the test above shows PBR and toon, with and without it, from the same camera.
What it's for
An outline over the whole scene was never the plan: too expensive, and absent from every target image. The outline is for one object at a time: selection, lock-on. And even lock-on isn't settled — none of the reference games (Sekiro, Wukong, Ghost of Tsushima, The Witcher 3) target with an outline; they use a HUD marker. So the decision was: the outline stays as an engine option, on one condition — if it's not used, it must cost nothing.
Hints (an object you can interact with) went another way: tint and flash per object (setObjectTint,
setObjectFlash). The shader already read both; they just weren't exposed to the game.
The search for the edge is limited to one screen rectangle, the union of the marked objects, instead of the whole screen.
"Costs nothing when off": an Intel story
The first measurement with the outline off looked fine on the Deck. On the StarLite (an Intel N-series tablet, not a target, but a good canary) the tonemap was +139 µs — for a block of code that never runs. The Mesa compiler explained it: the edge search loop is fully unrolled (32 stencil reads), and the MSAA version of the tonemap lost its SIMD32 mode. The driver compiles the shader narrower because of code it will never execute.
The fix is the obvious one: a tonemap variant without the outline block when outlineEnabled is false, and the
eight reads of each ring issued together instead of one after the other. Measured again (µs, against the build before
step 20):
| Deck | StarLite | GPD Pocket 4 | |
|---|---|---|---|
| tonemap off, MSAA ×4 (before / now) | 260 / 260 | 1128 / 1127 | 81 / 81 |
| outline on, object marked, ×4 | +104 | +3035 | +44 |
| outline on, object marked, ×1 | +84 | +901 | +42 |
Off: zero, everywhere. On Intel it stays heavy once something is marked — but Intel isn't a target.
Under load
To know where the Deck stands, ProjectO got --stress N: N cubes and spheres placed on the flat spots of P0_0 and its
copies, with everything on (MSAA ×4, fog + halo, 3 cascades, PCF 9, foliage), third-person camera. The GPU median goes
from 6.10 ms at 128 objects to 12.00 ms at 16 096. Then the same ramp with the outline:
| 128 objects | 4096 | 16 096 | |
|---|---|---|---|
| outline off | 6.10 ms | 7.78 | 12.01 |
| on, nothing marked | 6.16 | 7.83 | 12.08 |
| character marked | 6.28 | 7.95 | 12.19 |
| + an object far away (half the screen) | 6.43 | 8.11 | 12.34 |
With the outline enabled, the stencil costs the scene pass 50 to 67 µs — the only fixed cost. The search depends only on the size of the rectangle, not on the load: worst case measured, +0.33 ms.
Step 21: Clustered Forward+ and local lights
Lights in the scene
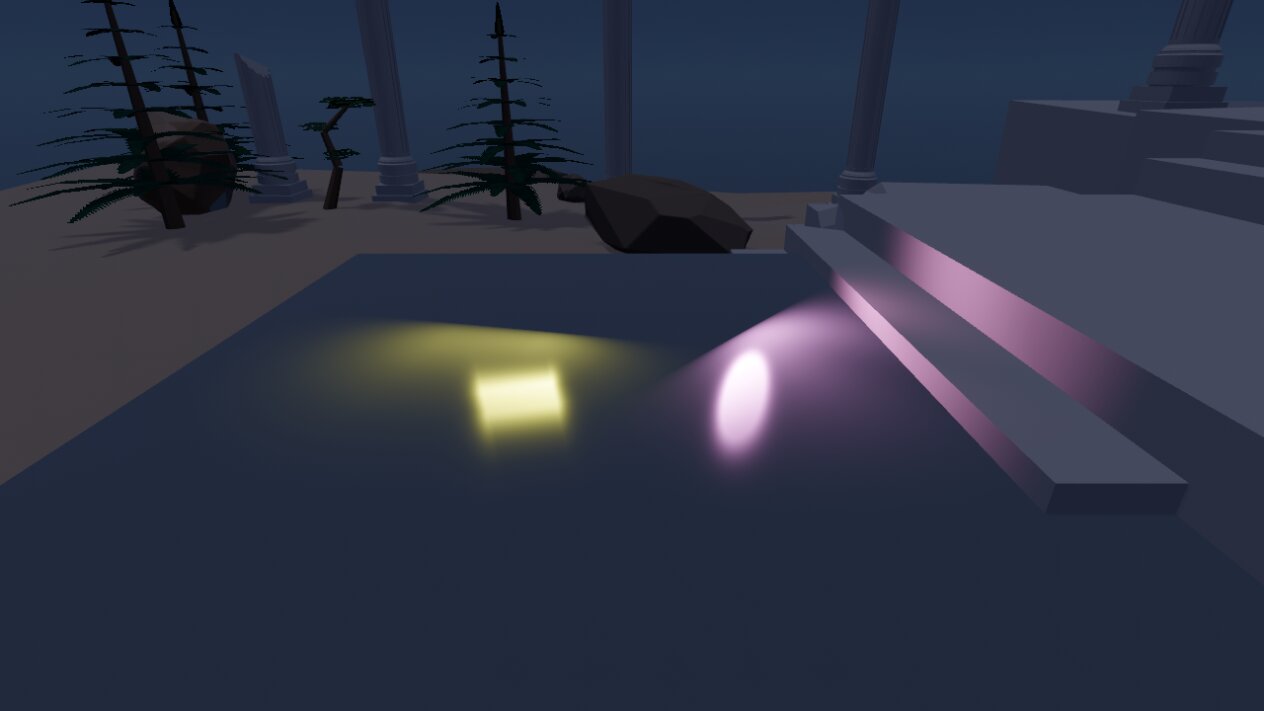
A light is a scene entity attached to a node: createLight(node, SLocalLightInfo), pointing down the node's −Z like in
Blender. A light has no mesh; the game puts its lantern on the same node. Four types: point, spot,
rectangle and disc.
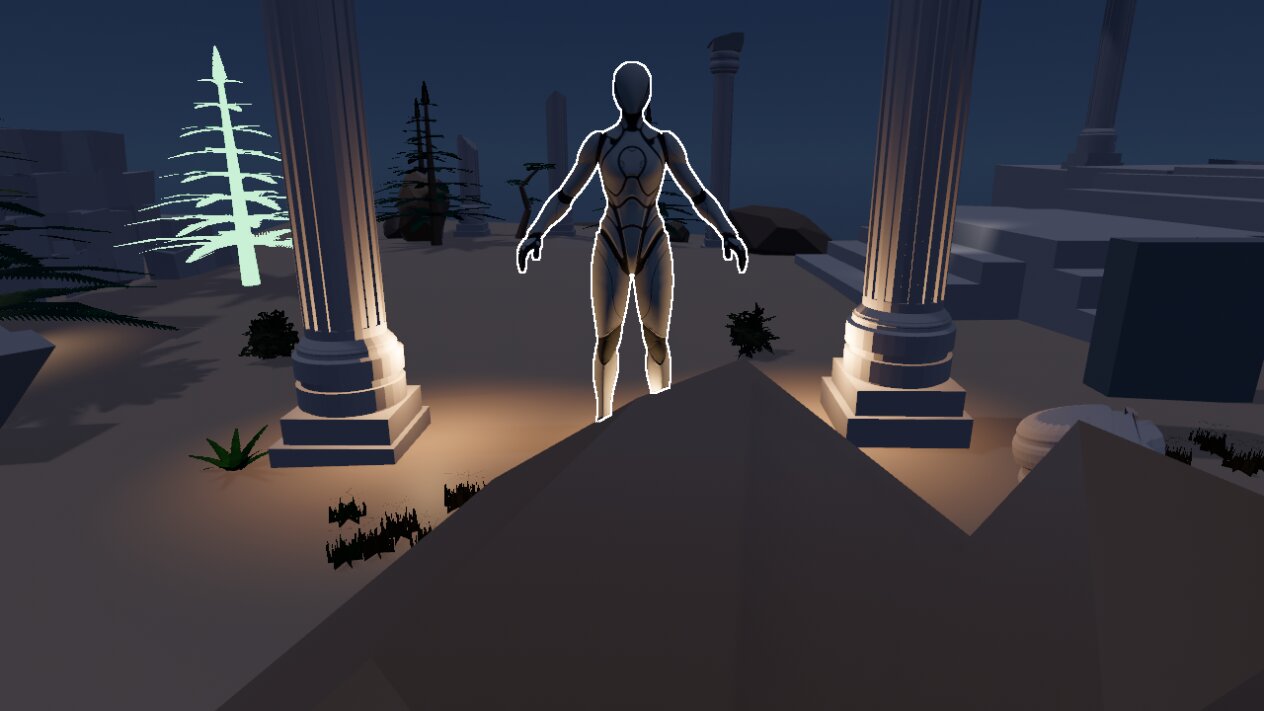
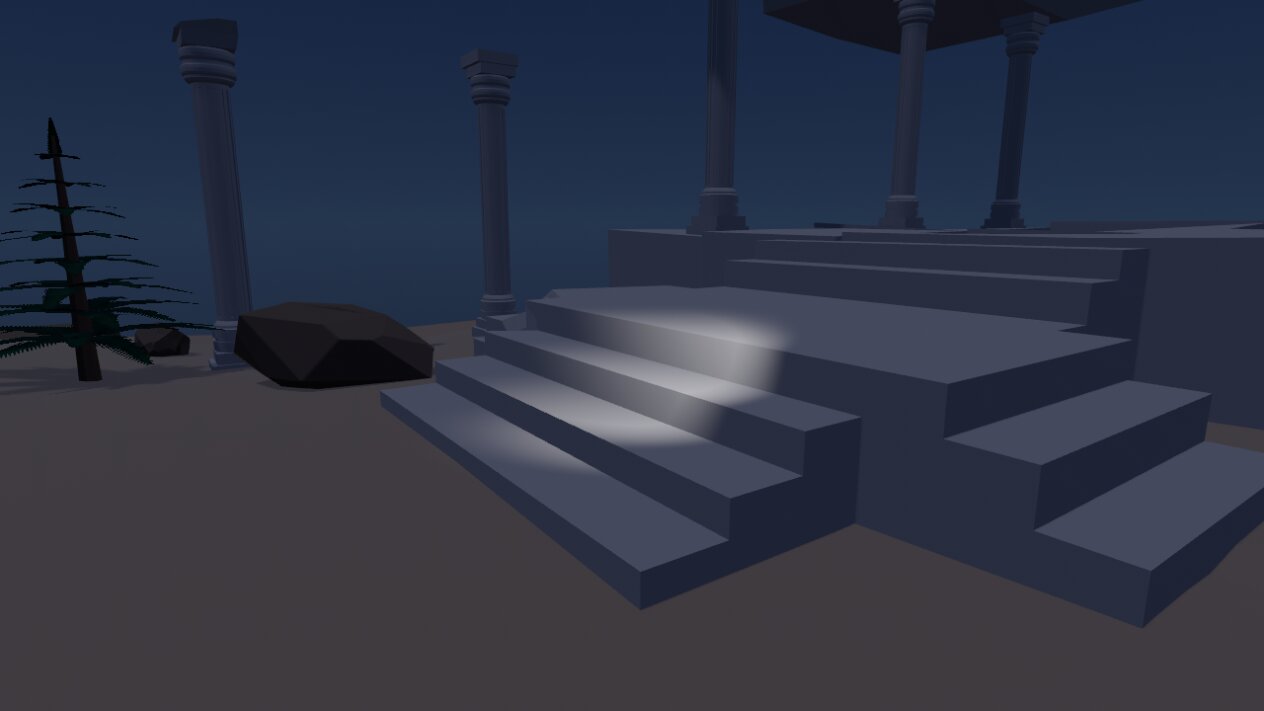
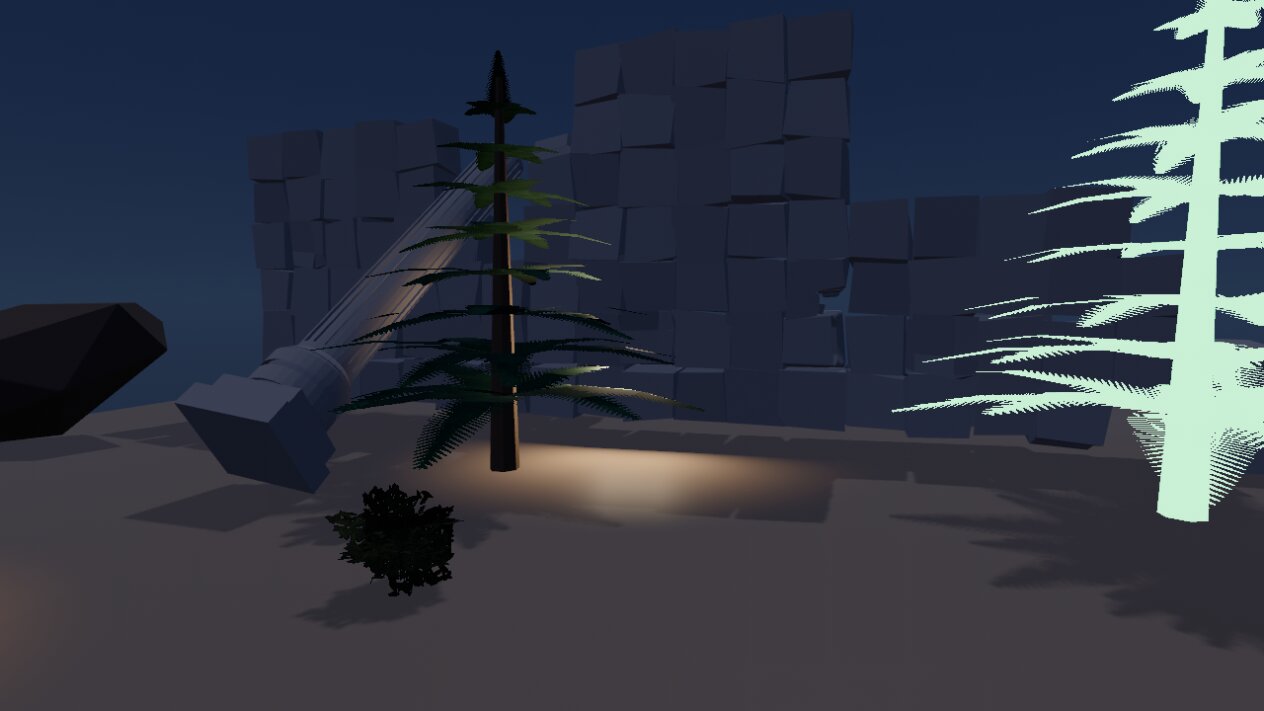
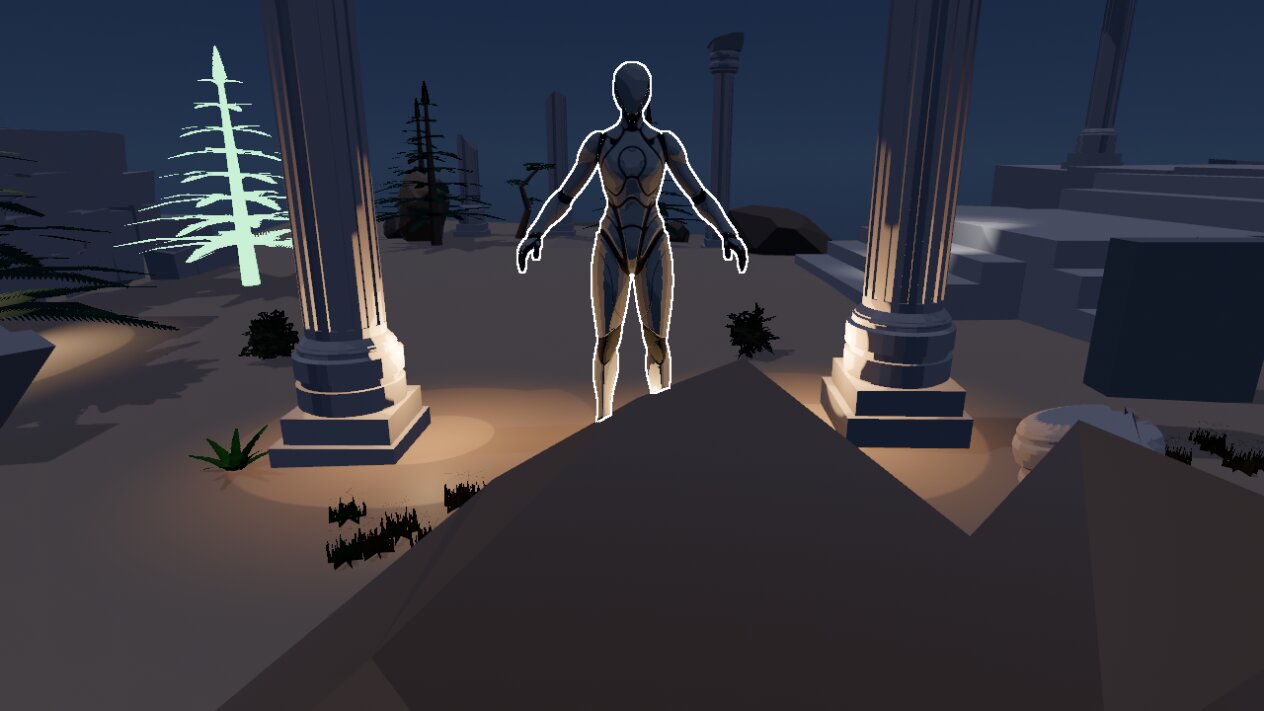
The local lights work in toon mode too — in bands:
Area lights: the representative point
The exact lighting of a rectangle is an integral over its surface. LTC (linearly transformed cosines) approximates it well, at the price of lookup tables. Before deciding, the exact result was compared with Karis's representative point — a single point on the light, chosen per pixel:
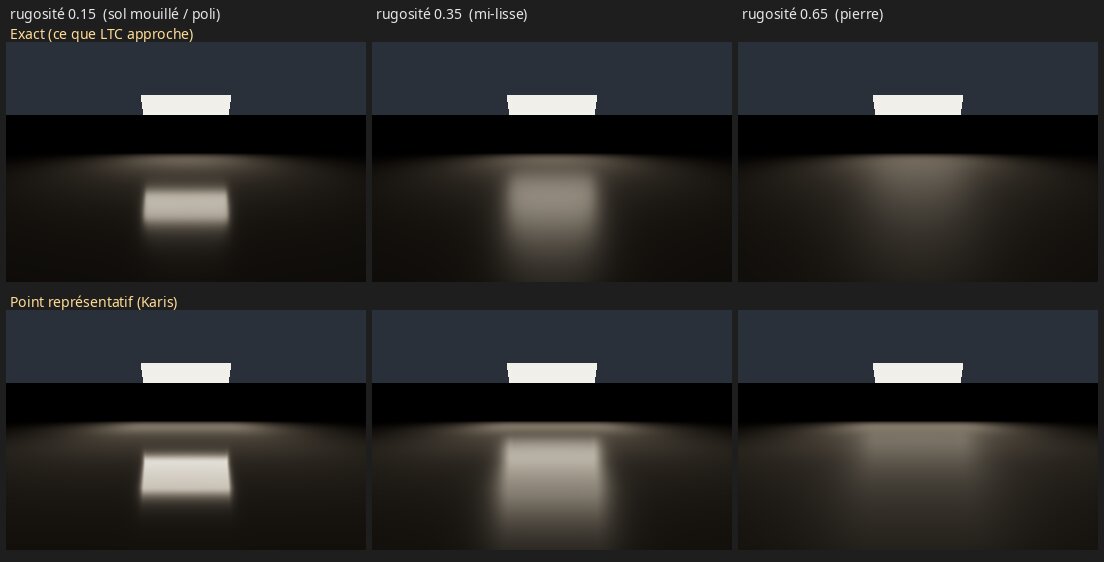
The difference shows on a polished floor and fades on stone. ARAL codes the representative point;
EAreaLightModel::eLTC is in the enum and falls back with a warning, for the day it's needed.
The grid
The view frustum is cut into a 3D grid of clusters (tiles on screen × slices in depth). Each frame, every light is assigned to the clusters its volume touches; the shader then finds the pixel's cluster and loops over its lights only. The cost per pixel follows the lights per cluster, not the total.
It was built in safe steps:
- Brute force first: every pixel loops over every light. That's the reference image.
- CPU binning, per view, then the shader reading the clusters. Against brute force, on four lights and three framings: identical to the bit.
- A debug heat map of the lights per cluster, and counters.
- Compute binning, the first compute shader in InGa, written from scratch: 64 threads per cluster, lights already
in view space, a deterministic order of indices. A
checkmode reads the compute lists back and compares them with the CPU lists of the same frame. With 1000 lights, cameras moving, one view and four views: 0 mismatches over 2000 frames. Getting there found two real differences — the CPU only tested the tiles inside the sphere's range, and adot()rounded differently from the CPU'sx*x + y*y + z*z.
CPU or compute? Measured
--lights N adds N flickering torches (their light changes every frame). Deck, GPU high, night, MSAA ×4, 3 cascades,
PCF 9. CPU time of the binning (aral.clusters, µs):
| torches | 0 | 16 | 64 | 256 | 1000 |
|---|---|---|---|---|---|
| CPU binning | 96 | 93 | 198 | 500 | 1269 |
| compute binning | 41 | 44 | 46 | 60 | 153 |
On the GPU, the two modes give the same total (±0.03 ms): the dispatch runs before the shadow pass and hides there. So compute is the default. CPU binning stays available, for a machine with a big CPU and a small GPU, where the dispatch (80–260 µs) may not hide anymore.
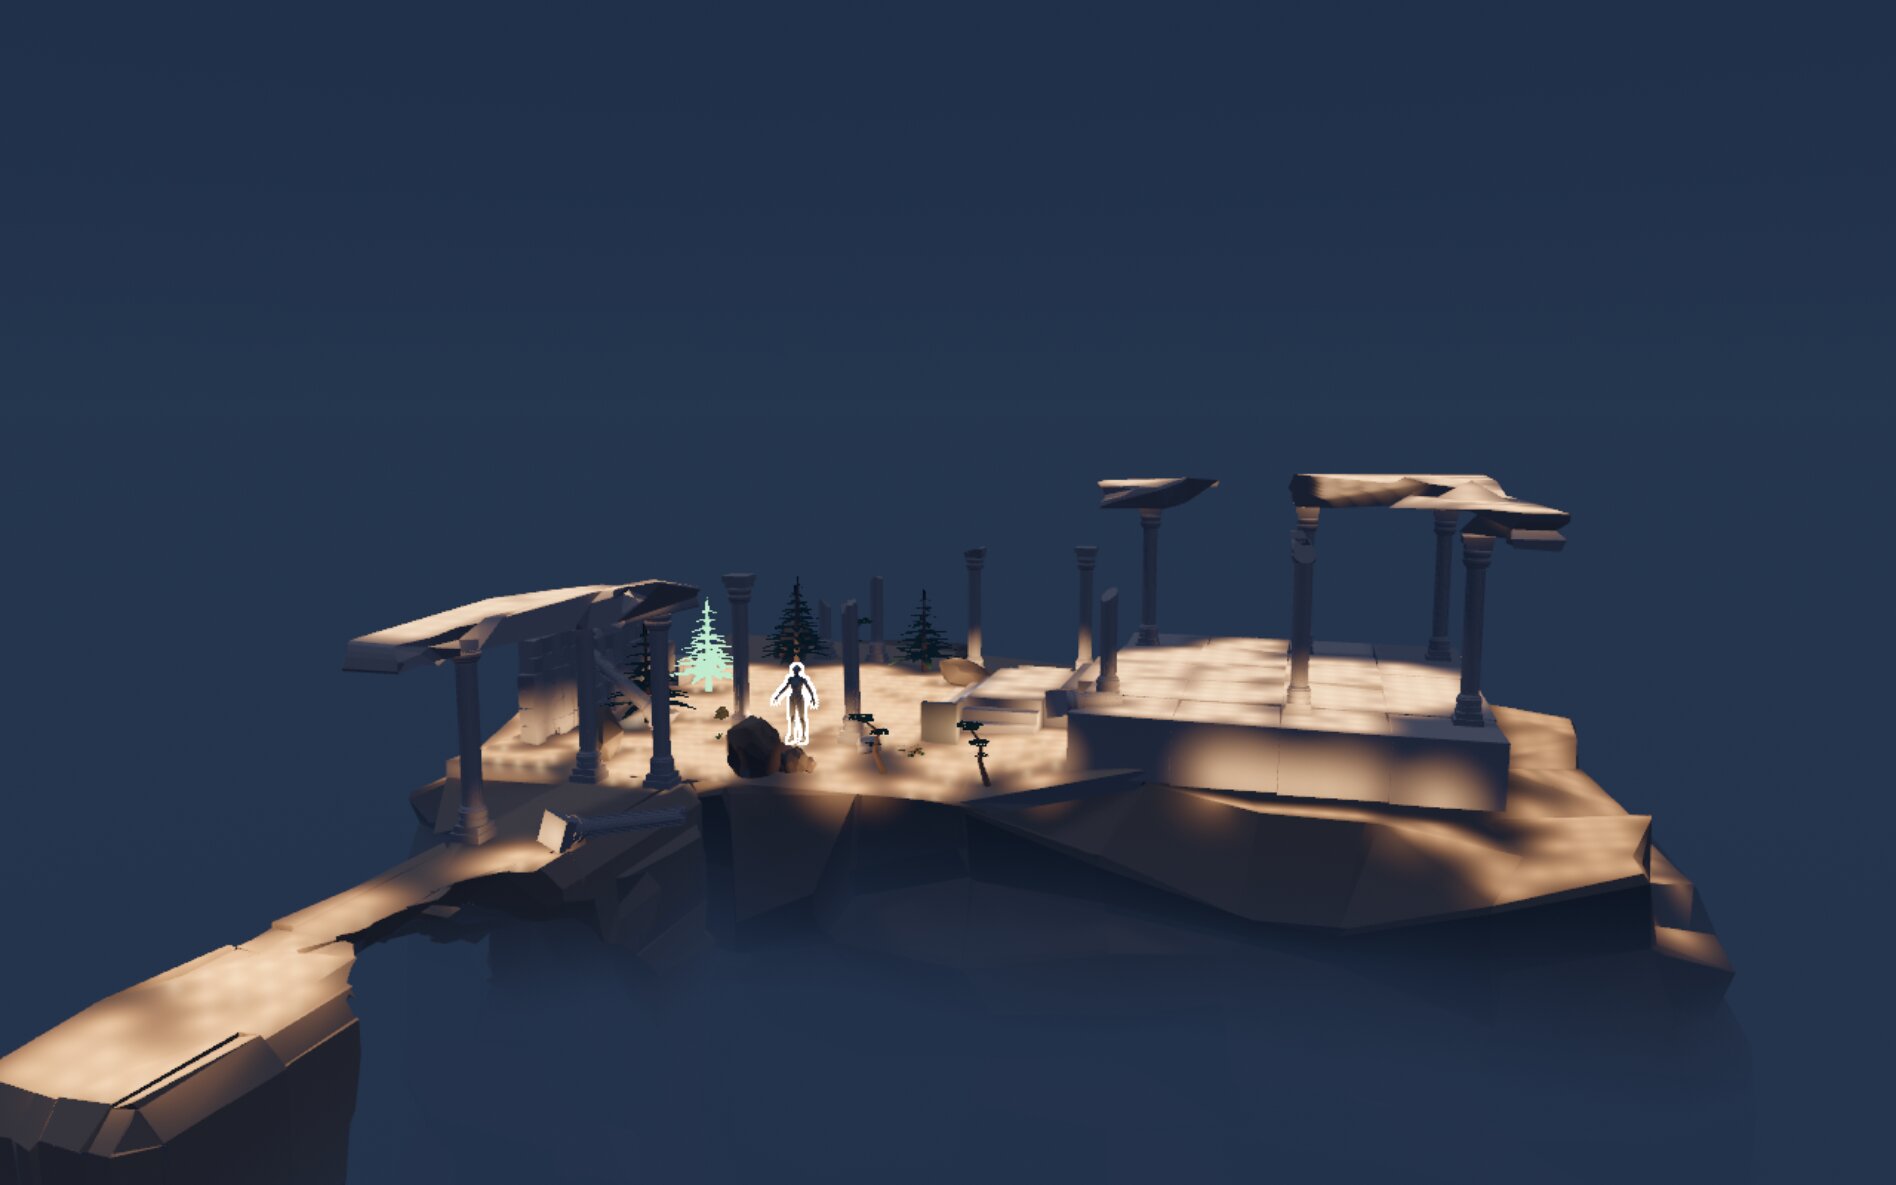
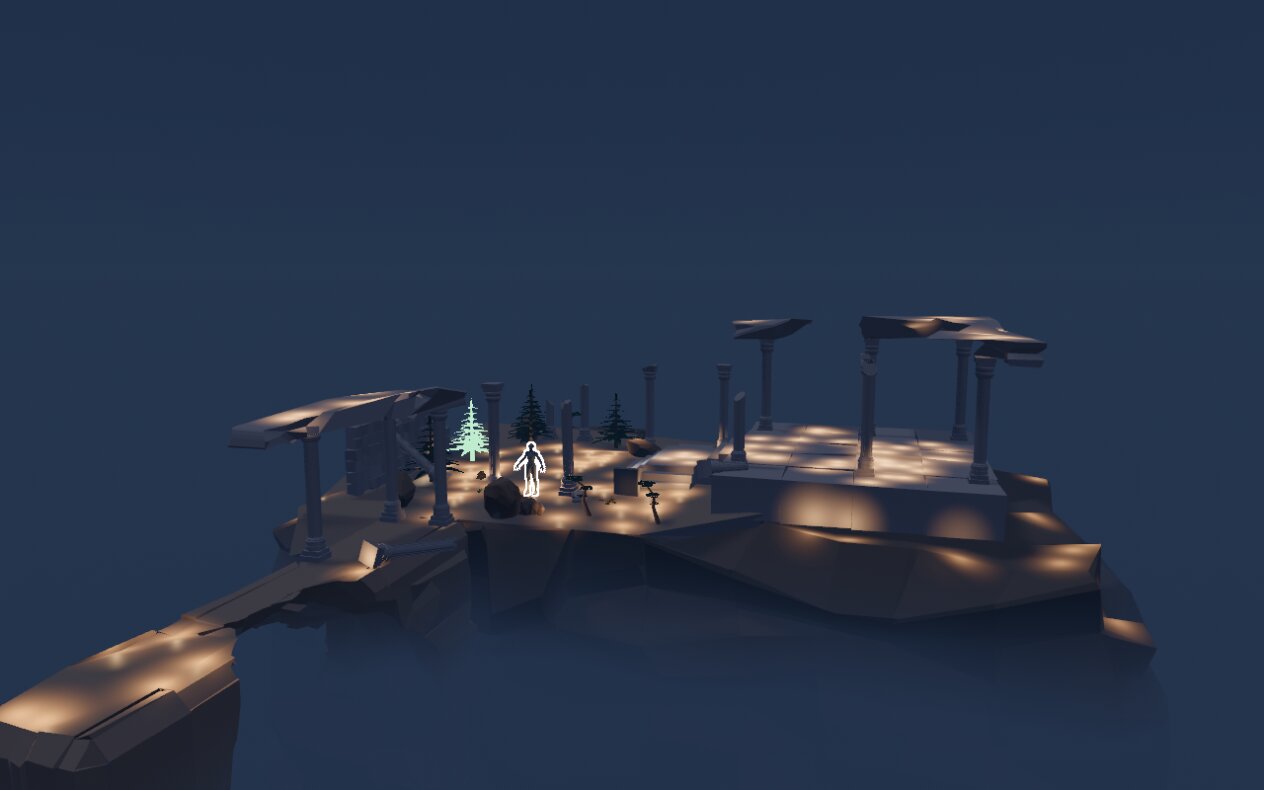
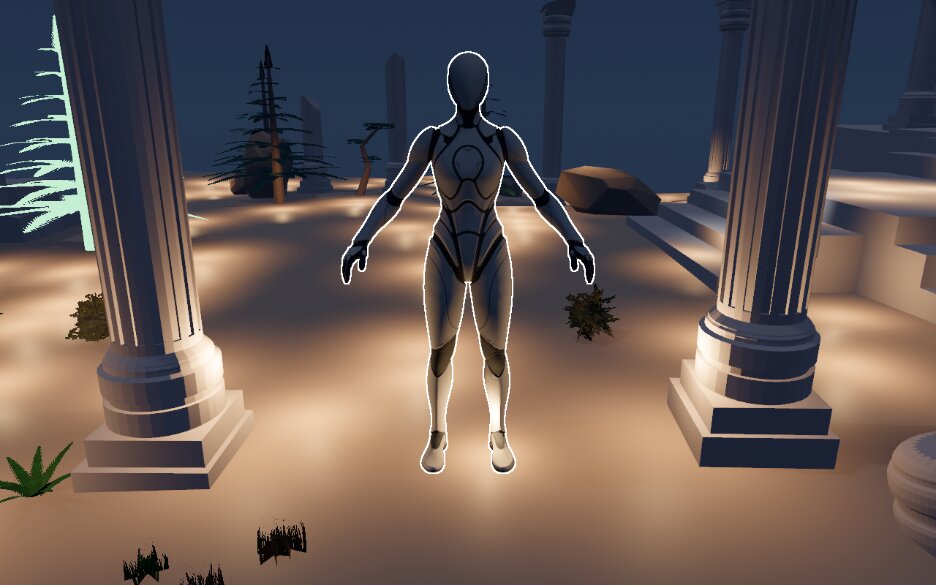
What the lights themselves cost in the scene pass: +0.45 ms at 64 torches (38 visible), +1.2 ms at 256, +4.1 ms at 1000 — where the cap of 32 lights per cluster is reached. The night scene above, with its 5 lights, costs +0.56 ms.
Here are 180 lights (left) and 1000 lights (right), on the same views:

And with no light visible, everything is skipped — binning, dispatch, barriers, and the shader's loop on a uniform branch: 2 µs of CPU, and a GPU total lower than before step 21 (5.71 against 5.85 ms, most likely from the BRDF code being factored on the way).
The GPD Pocket 4 (Radeon 780M) says the same: compute equal to CPU on the GPU at every step, the light loop about three times cheaper than on the Deck. One lesson on the side: with its GPU forced high, after a minute of load the GPU keeps the power budget and every CPU core drops to 1.1 GHz. CPU times there are measured with the GPU on auto.
Calibrated on Blender
A light of P watts in Blender becomes P / 4π for a point or a spot, and P / (π A) for a rectangle of area A. Close
to a rectangle, ARAL is still too bright.
Next step
Step 22: driving InGa by IGS script — the engine's own tests and measurements written as scripts instead of the ~35 command-line options ProjectO has grown. The spec is written; the content of the step is still being discussed.